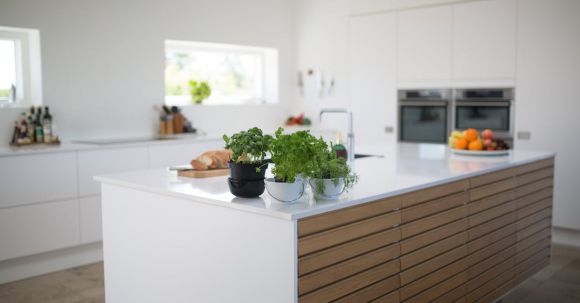
A backsplash can be a beautiful and functional addition to any kitchen. Not only does it protect your walls from splatters and stains, but it also adds a stylish touch to your space. If you’re looking to enhance the look of your kitchen, installing a backsplash is a great DIY project to take on. In this article, we will guide you through the process of installing a backsplash in your kitchen, step by step.
Choosing the Right Materials
Before you begin the installation process, it’s important to choose the right materials for your backsplash. There are many options to consider, such as ceramic tiles, glass tiles, or even peel-and-stick options. Take into account the overall style of your kitchen and choose a material that complements it.
Preparing the Wall
To ensure a smooth installation, it’s crucial to prepare the wall properly. Start by removing any existing backsplash or wallpaper. Clean the wall thoroughly and make sure it’s dry. Use a level and a pencil to mark a guideline where your backsplash will be installed. This will help you keep your tiles straight and aligned.
Applying the Adhesive
Once your wall is prepped, it’s time to apply the adhesive. Follow the manufacturer’s instructions for your chosen adhesive and mix it accordingly. Using a notched trowel, spread the adhesive evenly on the wall, working in small sections at a time. Make sure to apply enough adhesive to secure the tiles but avoid excessive amounts that may cause it to ooze out from the joints.
Installing the Tiles
With the adhesive in place, it’s time to start installing the tiles. Begin at the bottom center of your guideline and work your way outwards. Press each tile firmly into the adhesive, using spacers to ensure even spacing between tiles. Continue this process until all the tiles are installed. If necessary, cut tiles to fit around outlets or corners using a wet tile saw or a tile cutter.
Grouting the Tiles
Once your tiles are in place, allow the adhesive to dry completely before proceeding to the next step. Once dry, it’s time to grout the tiles. Mix the grout according to the manufacturer’s instructions and apply it to the gaps between the tiles using a grout float. Work in small sections, making sure to fill all the gaps completely. Wipe away any excess grout with a damp sponge, being careful not to remove too much grout from the joints.
Sealing the Backsplash
To protect your backsplash and keep it looking its best, it’s important to seal the grout. Allow the grout to cure for the recommended time before applying the sealer. Use a sealer brush or a sponge to apply the sealer evenly over the grout lines. Allow the sealer to dry completely before using your kitchen.
Enjoying Your New Backsplash
Congratulations! You have successfully installed a backsplash in your kitchen. Take a step back and admire your handiwork. Your new backsplash not only adds a touch of style to your kitchen but also provides a practical solution for keeping your walls clean and protected.
In conclusion, installing a backsplash in your kitchen is a relatively simple DIY project that can have a big impact on the overall look of your space. By following these steps and using the right materials, you can create a beautiful and functional backsplash that will enhance your kitchen for years to come. So, roll up your sleeves, gather your tools, and get ready to transform your kitchen with a stunning backsplash.


